Blender Shortcuts + Tips I've Learnt
|
Adjusting View: middle click = orbit shift + middle click = pan cntrl + middle click = zoom Modifiers:
|
Too Many Vertices + Reversed Faces
A problem I came across when making my frog characters (which was my first time using the program) was there being too many vertices after using the extend (E) command. I learned from watching the lectures that vertices may appear to be connected, but might actually be sitting on top of each other. More vertices make the model more complicated, but I learnt there is an easy way to fix this.
Select the entire model while in edit mode and press M (merge). Then press the "by distance" option, which will merge vertices that are very close together. The default distance is 0.0001 m, but this can be increased through clicking the "merge by distance" window that pops up at the bottom left corner of the screen.
Another problem was that some faces were either reversed, or duplicated and overlapping each other. I'm still not quite sure why this happened, but the easiest way to fix the problem is to simply delete the faces and add new ones. The reversed faces can also be fixed by going to edit mode > mesh > normals >flip.
How I Created My Mountain And Trees From Scratch
When I was still very new to Blender, I didn't know how to create objects from scratch and had been working with primitive shapes. This was fine for symmetrical and geometric structures, like the frog characters, houses, and powerlines, but I wasn't sure how I would be able to make more organic things such as mountains or trees.
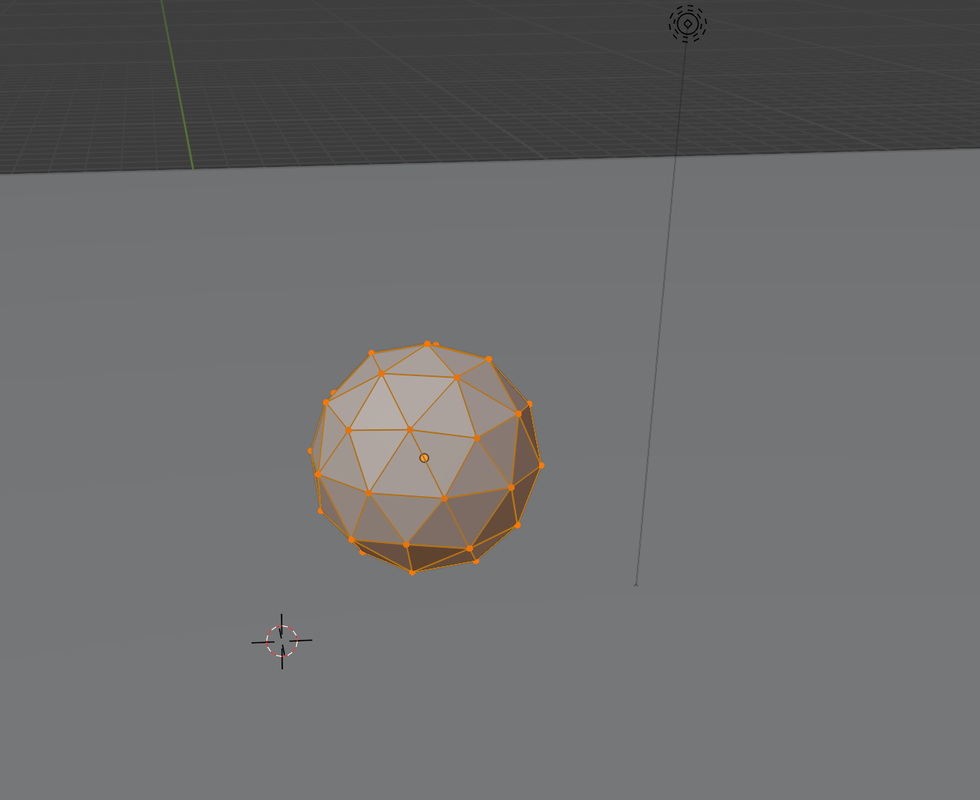
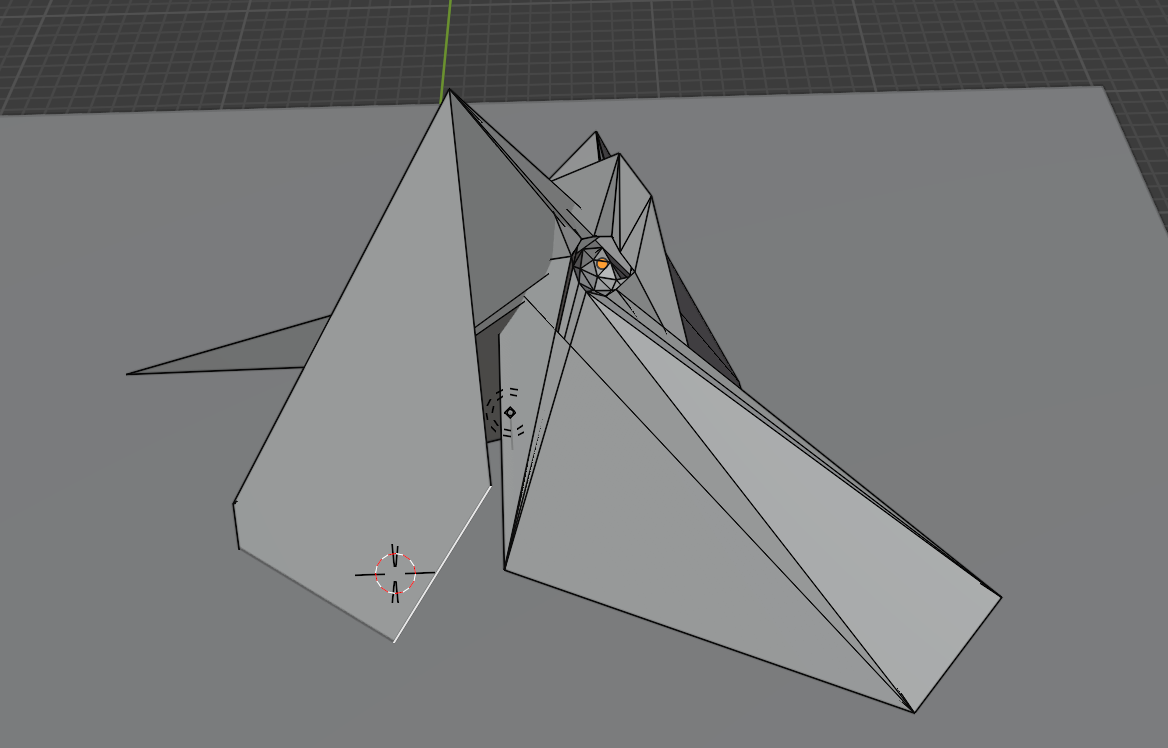
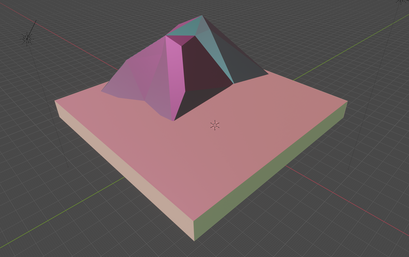
I wanted to try experimenting since I couldn't find a solution online. In my first attempt I started with an icosphere, and stretched all the vertices into a mountain shape. This looked fine, but resulted in overlapping faces and too many vertices, which would give me problems later.
I wanted to try experimenting since I couldn't find a solution online. In my first attempt I started with an icosphere, and stretched all the vertices into a mountain shape. This looked fine, but resulted in overlapping faces and too many vertices, which would give me problems later.
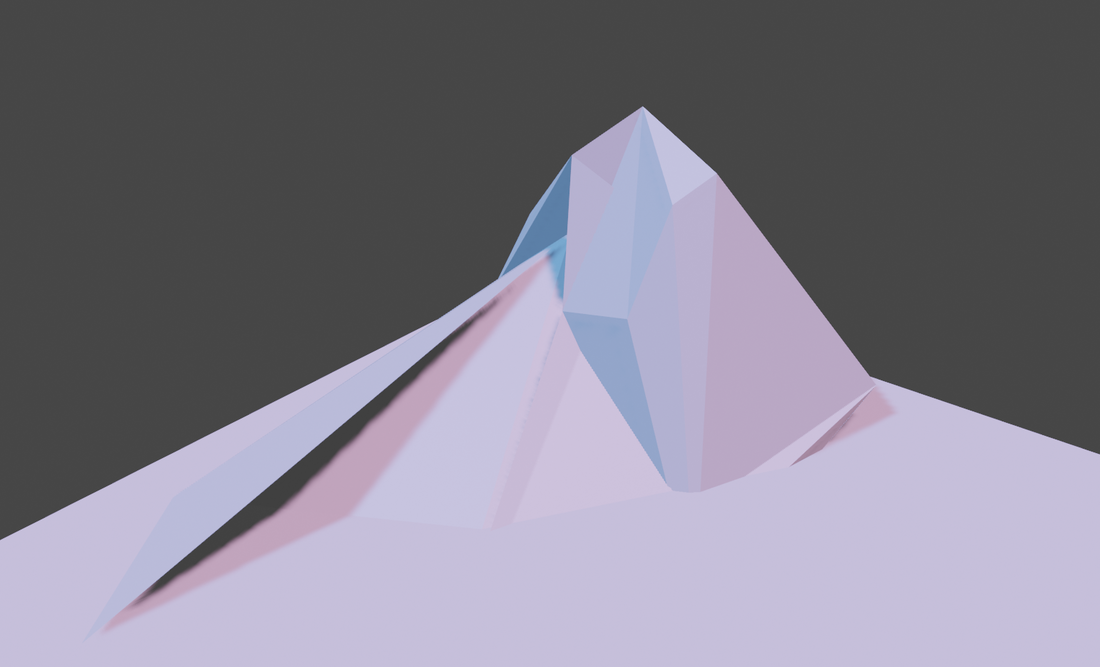
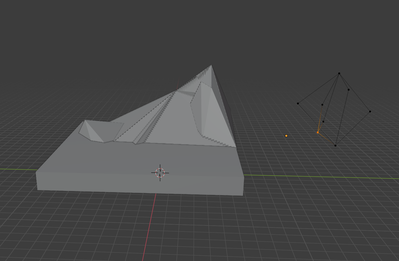
After trying many different things I was finally able to come up with a solution. If you select any shape and press M, then click "merge to centre" it turns the shape into a single vertex. This way I could start from scratch, adding edges (pressing E to extend) and faces (selecting 3-4 vertices and pressing F) until I got the shape I wanted. I used the icosphere mountain as a reference, and after cleaning it up and changing the lighting, I liked it much better.
|
|
I also used this technique to make the trees and wires. Once I had a basic outline with vertices and edges, I added the "skin" modifier to create faces around it. I could then select areas and press alt + A to adjust the proportions.
